
Ruins of Lordaeron
- Level
- 15–20
- Location
- Tirisfal Glades, the ruins above the Undercity
- Group
- 5 players
- Bosses
- 6
- Items
- 19
- Quests
- 10
Entrance. Through the front gate of the ruins of Lordaeron, immediately to the left before the keep: the portal is up a flight of stairs, at /way 72.4 11.6.
Getting there
Horde. Walk from Brill to the Undercity and go into the ruins of Lordaeron above it, not down the elevators. The portal is immediately to the left after the gate.
Alliance. A long way:
- Take the boat from Stormwind Harbor to Auberdine.
- In Auberdine, take the boat to Menethil Harbor, and stay on board until Southshore in Hillsbrad Foothills.
- Follow the road north from Southshore past Hillsbrad Fields and around Dalaran.
- Swim north through Lordamere Lake in Silverpine Forest to Tirisfal Glades.
- Follow the road to the ruins of Lordaeron.
Skyborne on the Alliance side can take a portal from the Mage Tower in Stormwind to Dalaran and start at step 3.
The exact spot. Walk through the front gate of the ruins and look left before the keep: the portal is up a flight of stairs, at /way 72.4 11.6. Whoever dies inside comes back as a ghost in the courtyard, close by. Outside, on the long way for the Alliance, Spirit Healers are far apart, and on a PvP ruleset the route crosses a lot of Horde land.
The route through the dungeon
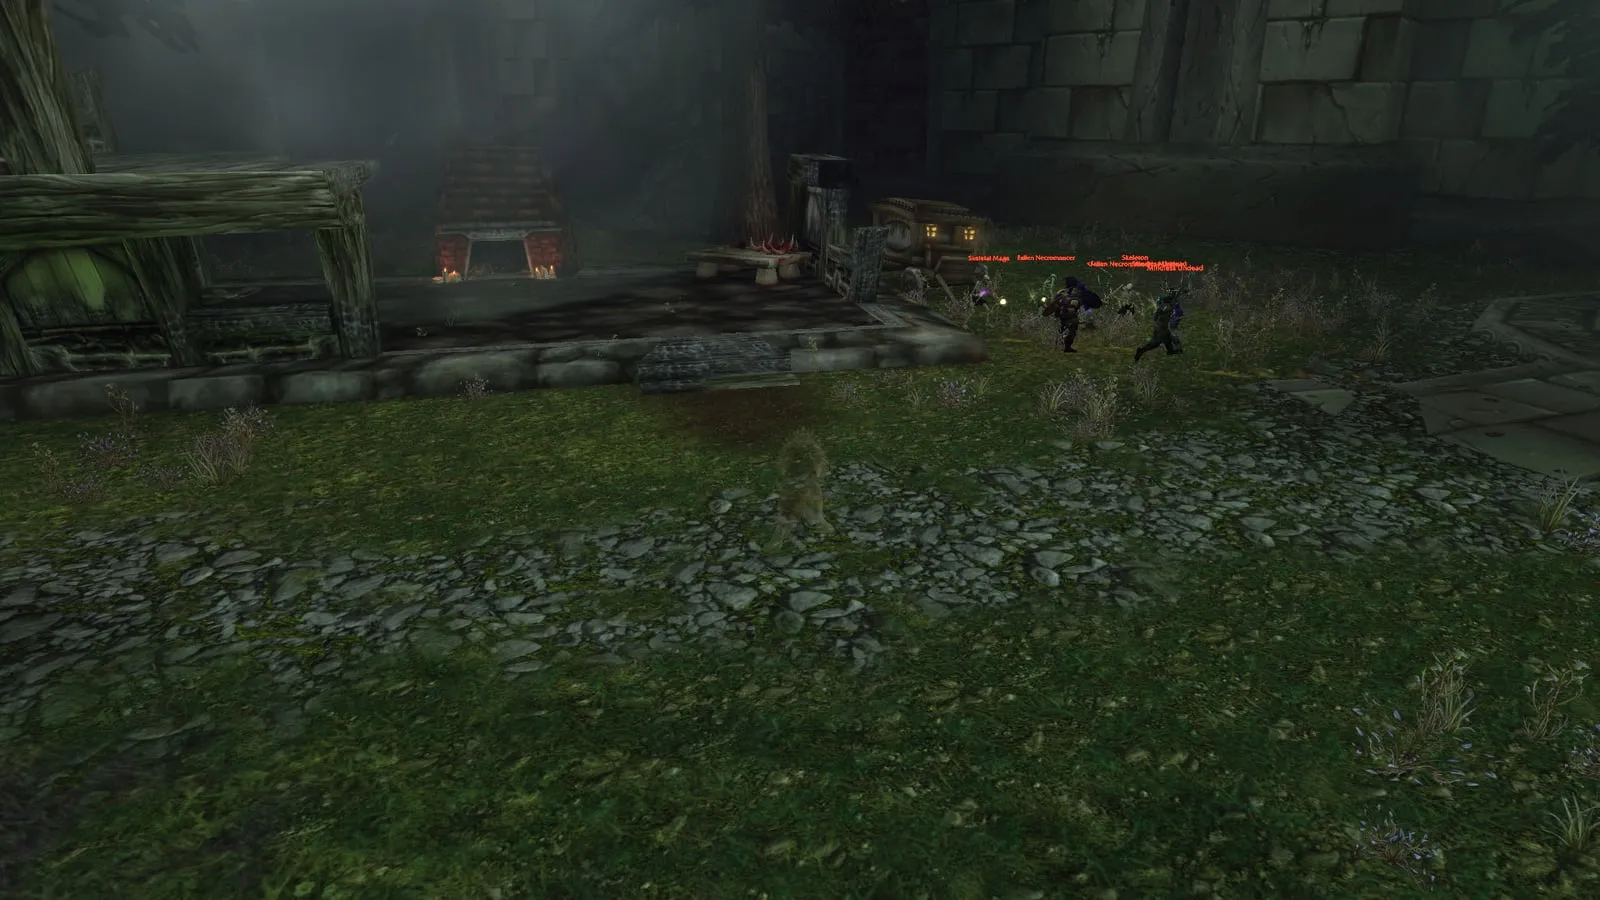
Almost the whole dungeon lies outdoors, and fog and moving shadows hide what stands further on. Blizzard’s dungeon video advises pulling to open, lit ground, where every enemy stays visible.
The dungeon looks open and confusing, but the route is a U. The real challenge is the density: packs stand close together, patrols cross, and the healer runs out of mana fast. From the portal:
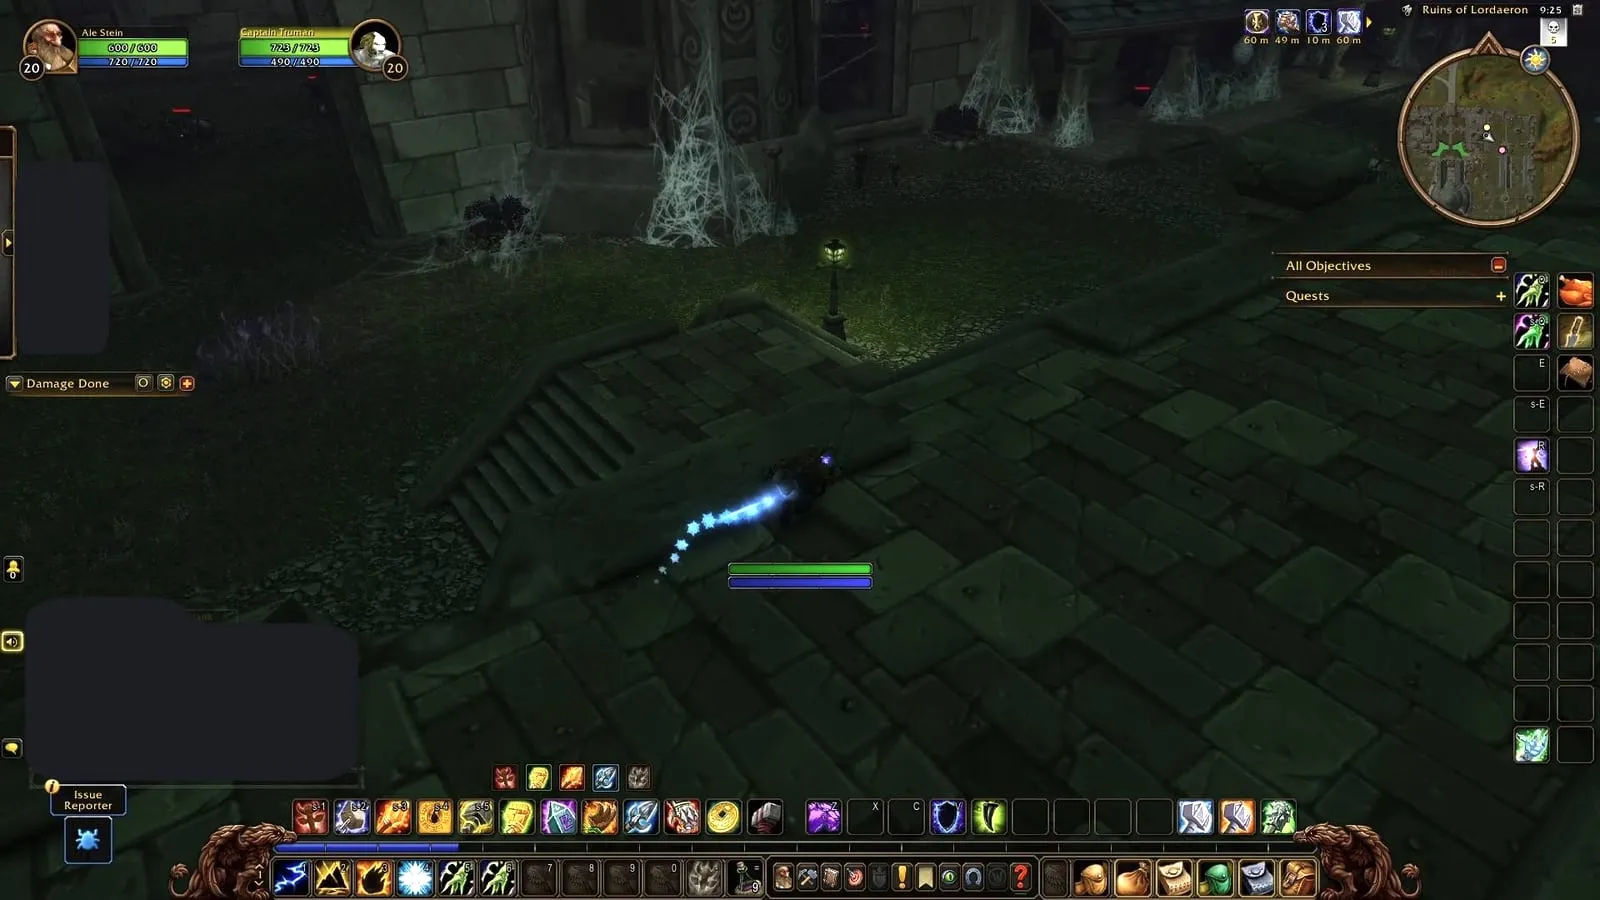
- Captain Truman. The Alliance turns left for Abominable Creatures. Then go down the stairs to the east.
- The window. Skip the large, web-covered gate and jump through the window on the right. That skips a few packs.
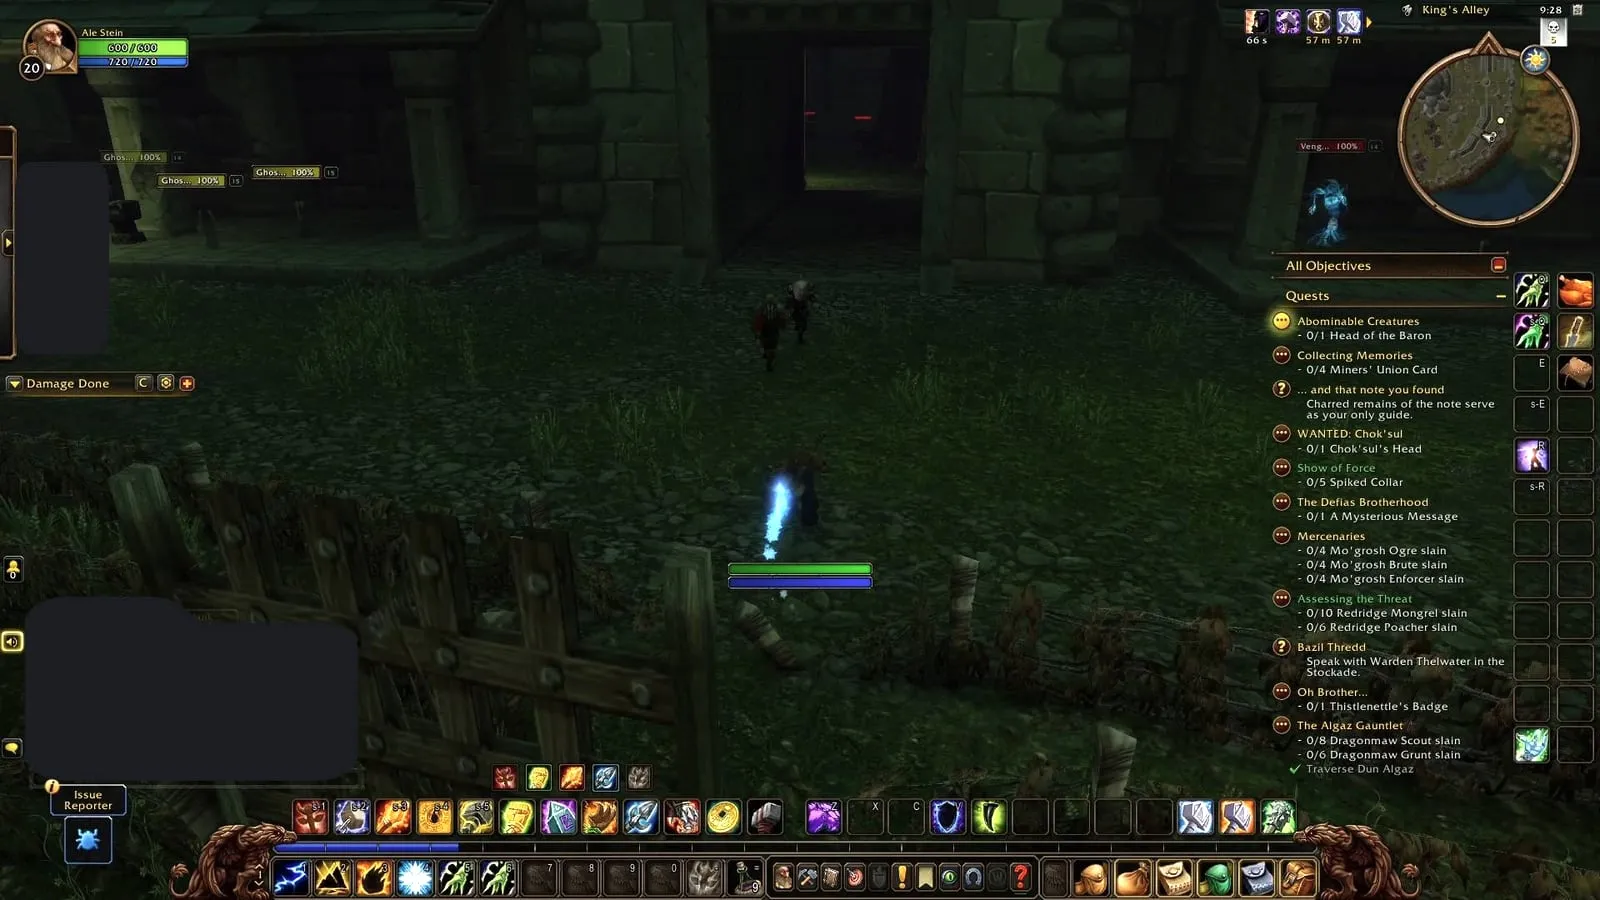
- Witherfang patrols the alley there. Clear the small spider packs, then the boss.
- South, along the left wall, to keep trash to a minimum. At three Ghostly Citizens, turn right into a passage to the west: that is where The Baron stands.
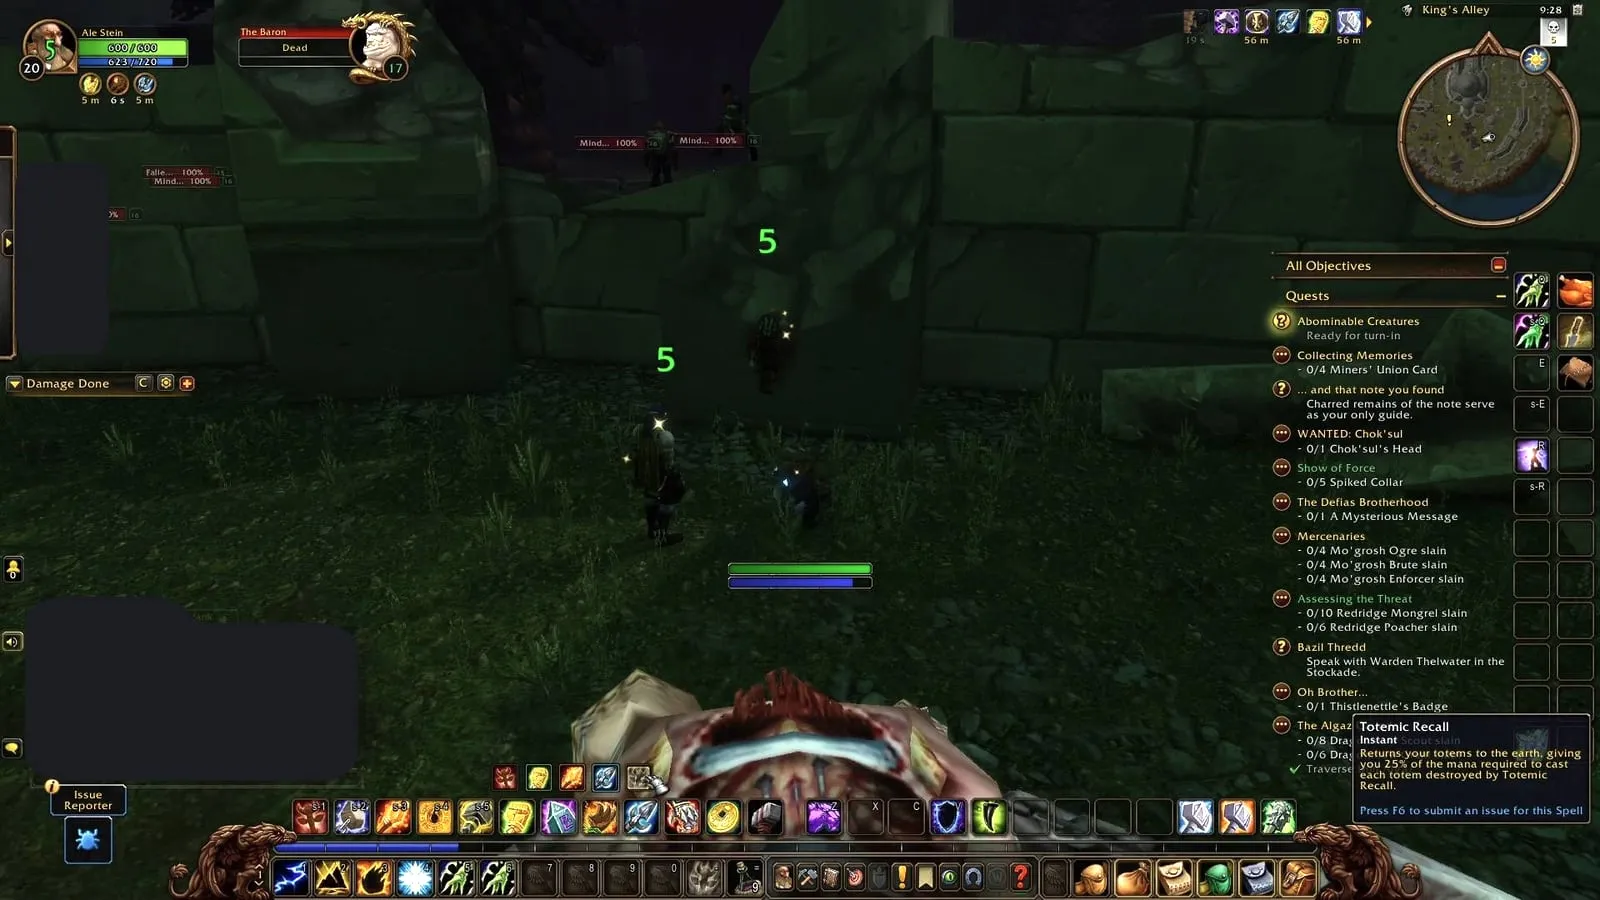
- Over the wall. Behind The Baron, a broken pillar leans against a low wall. Jump on it and over. Hunters and Warlocks dismiss their pet first.
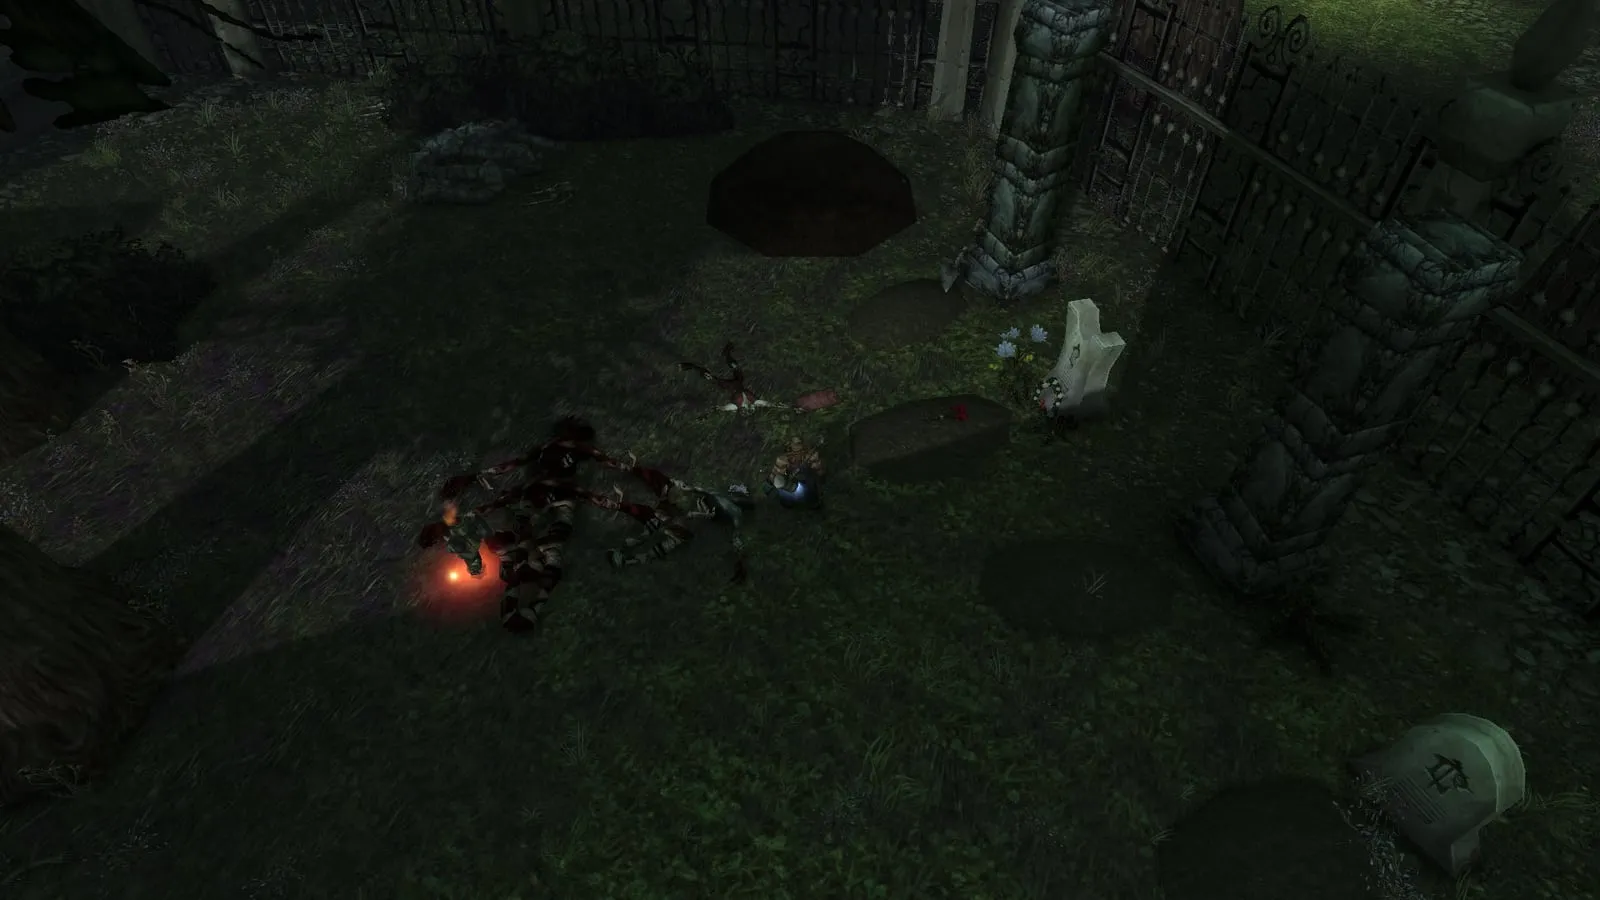
- Past the graveyard. Straight ahead lies a graveyard behind an iron fence, with a summoning circle: Rath’mael comes last. Keep to the right side and go around.
- Viktor the Vile. Just past a corridor to a courtyard stands a burned-down house with a fireplace. Clear the area, wait for full mana and click the fire.
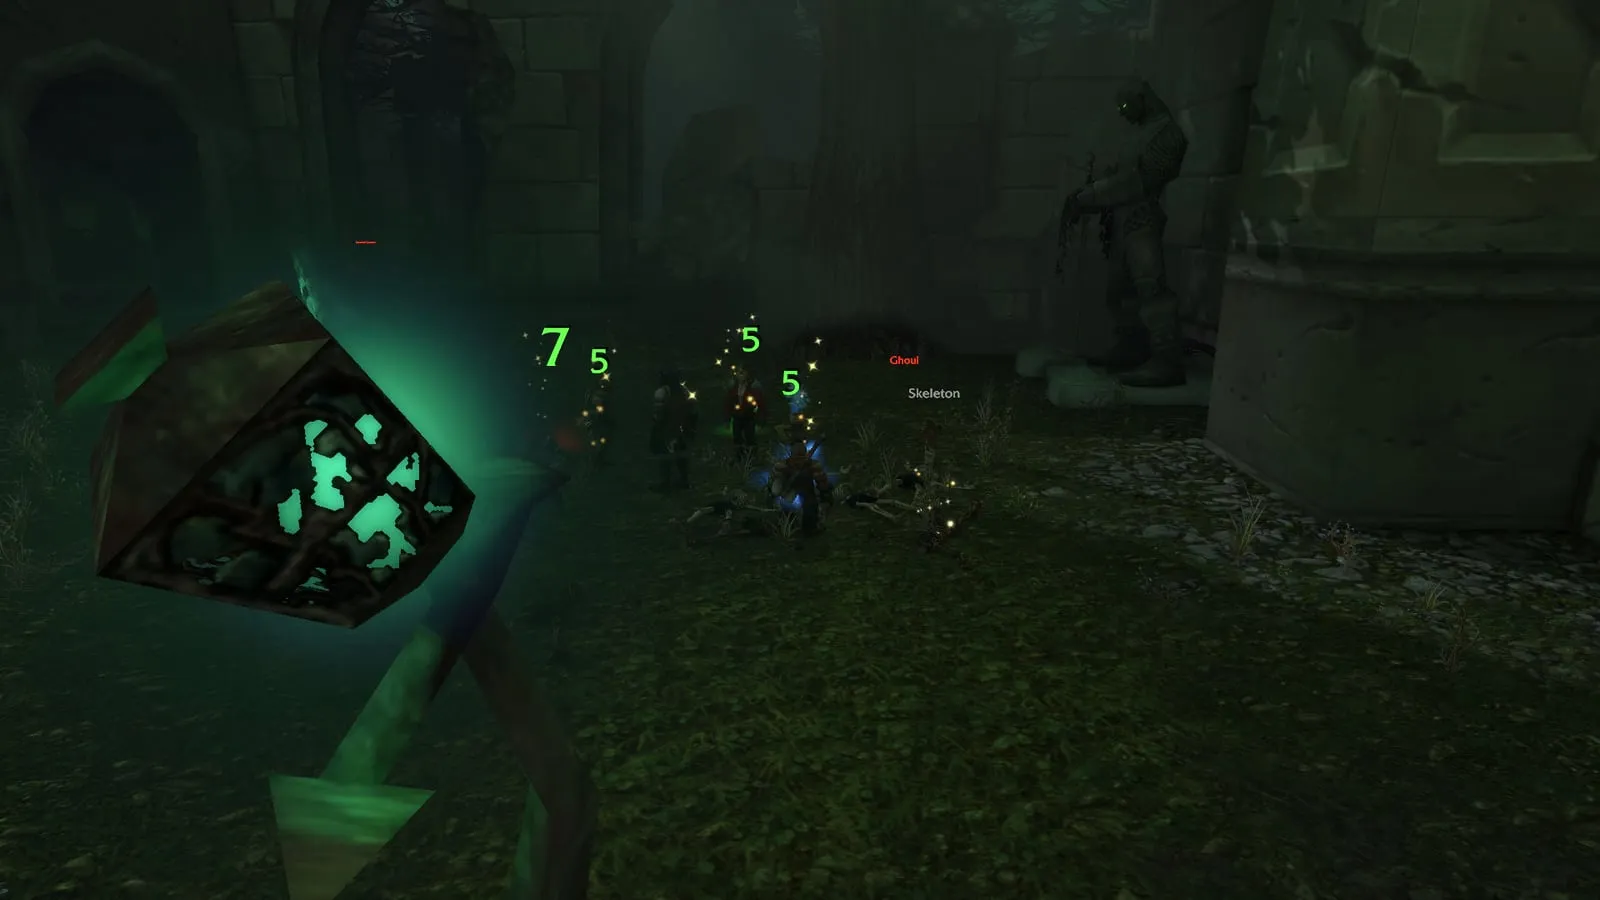
- The Abandoned. In the courtyard past the graveyard stands a statue with glowing eyes. Click it for the waves; The Abandoned comes out of the statue.
- The window to Bjork. Leave the courtyard through the area with a narrow staircase, turn right at the end and jump through a large window. Bjork patrols there.
- Rath’mael. Go straight south to the graveyard. Edward’s body lies there too, needed by both factions.
The Alliance walks out instead of using a Hearthstone: the Head of the Baron goes to Captain Truman at the entrance.
Trash
The trash hits less hard than in the Hall of Thanes, but the packs stand close together and some patrol. Pulling two packs at once is the main danger. Crowd control and stuns such as  Hammer of Justice help, and Paladins do well from level 20 with
 Exorcism, which hits undead hard.
Spiders.  Venom Lurkers, Spiders and Tarantulas at the start. Not strong on their own, but some packs patrol. Pull them back to a cleared spot.
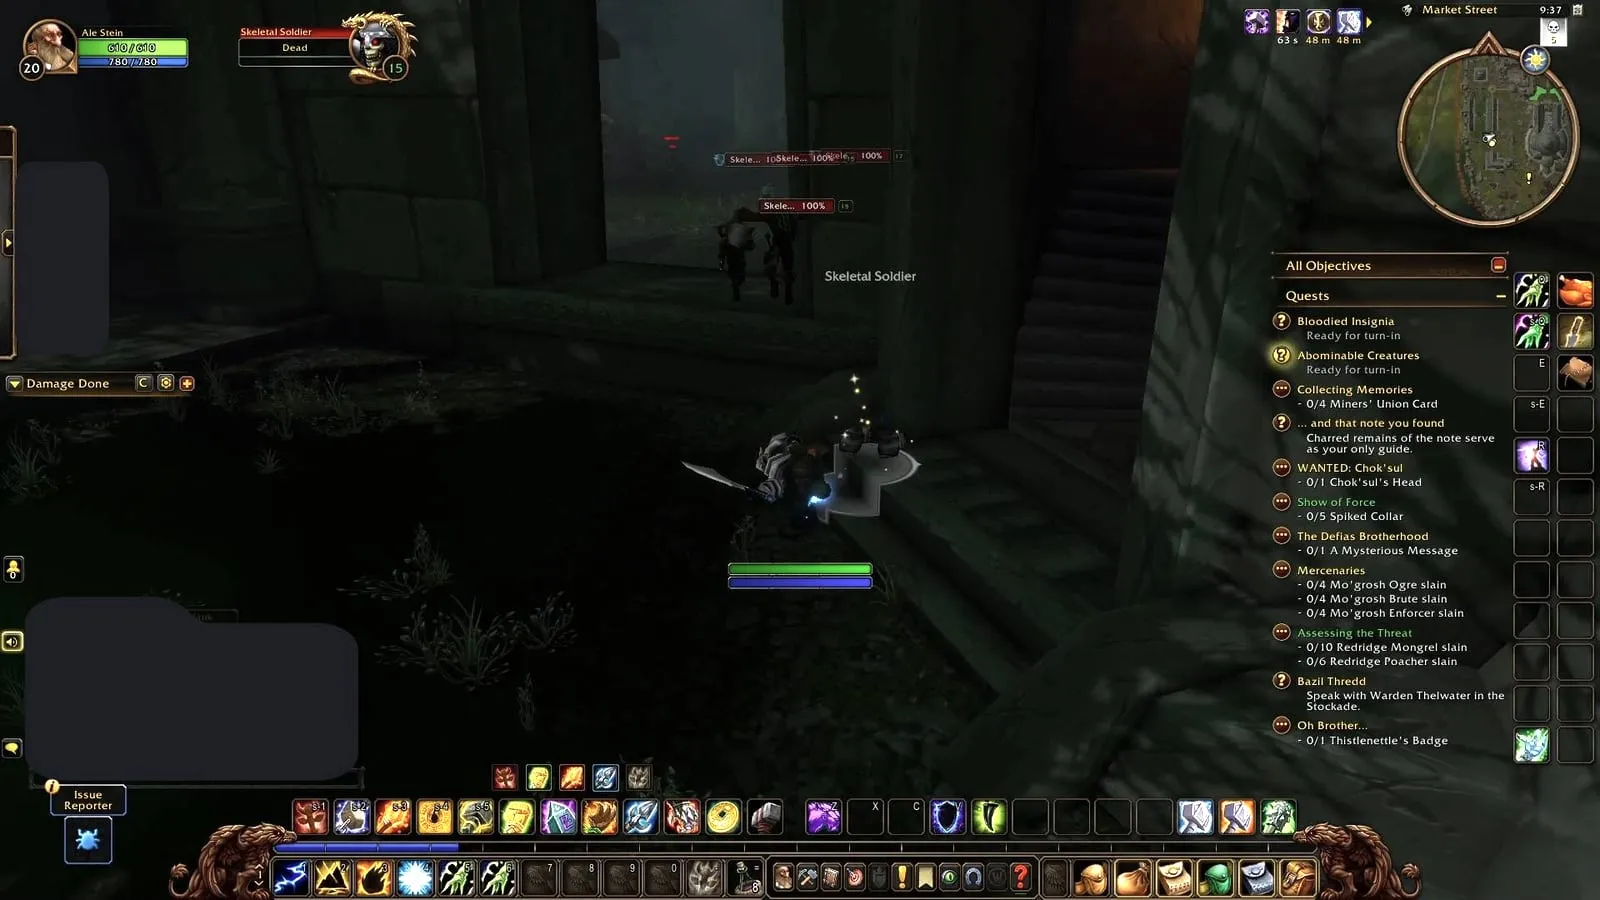
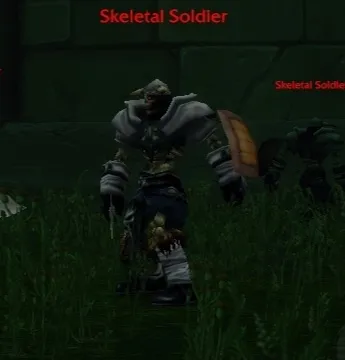
Skeletal Soldiers and Shrieking Banshees. Near The Baron. The soldiers hit hard in large packs and the banshees silence.
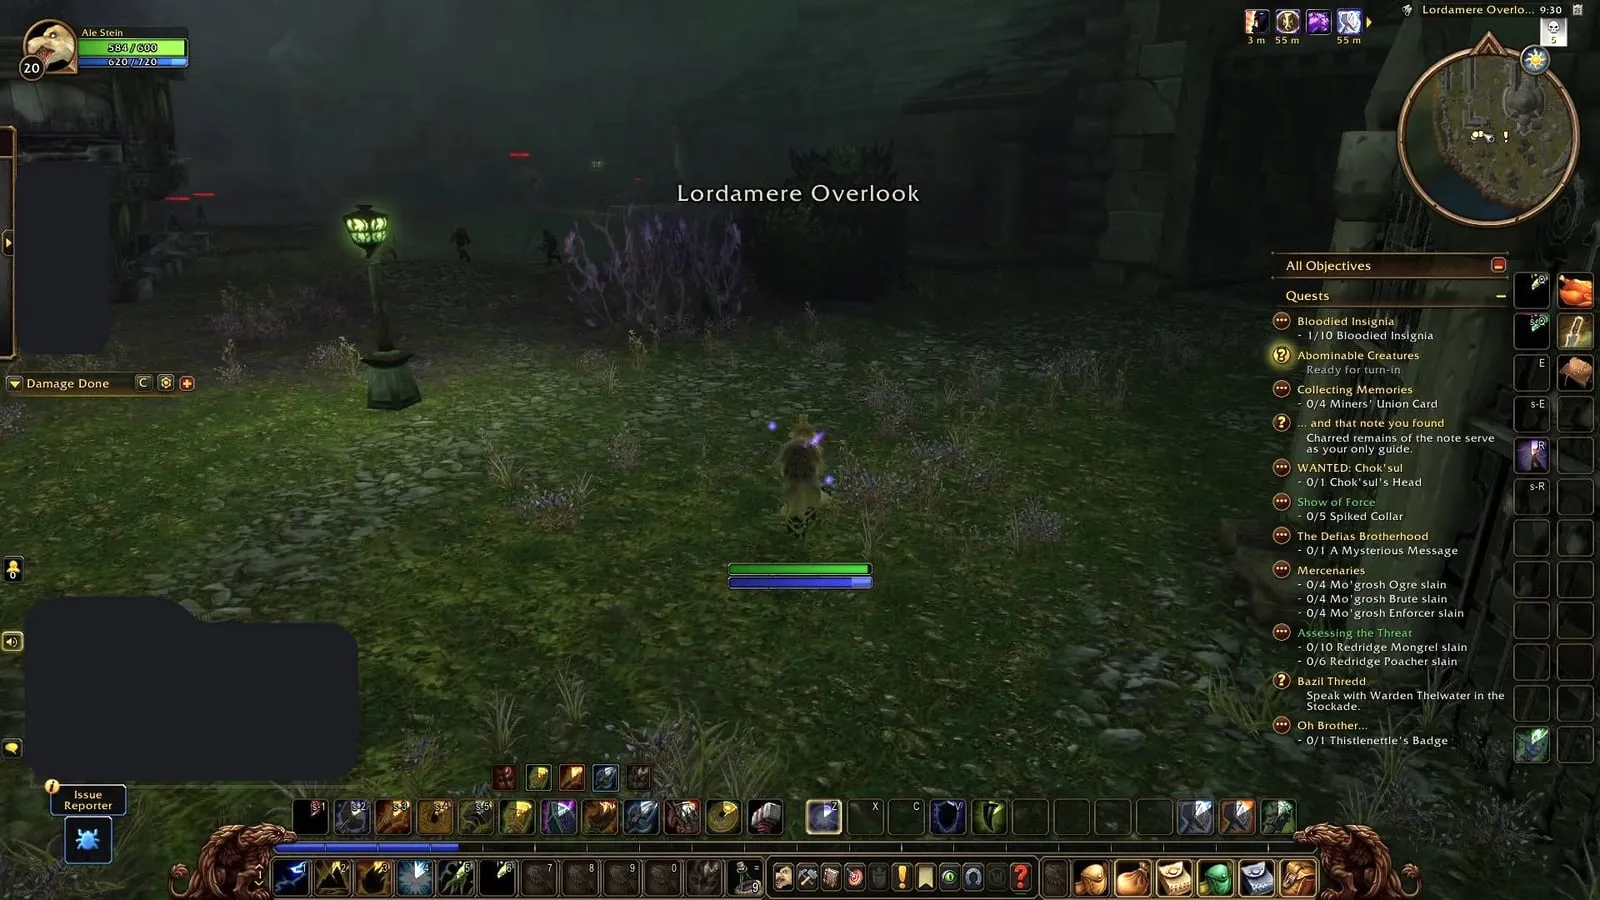
Flesh Golems. They patrol Lordamere Overlook, deal heavy damage and use  Knock Away, which drops threat. Mind where the tank lands, so nobody flies into another pack.
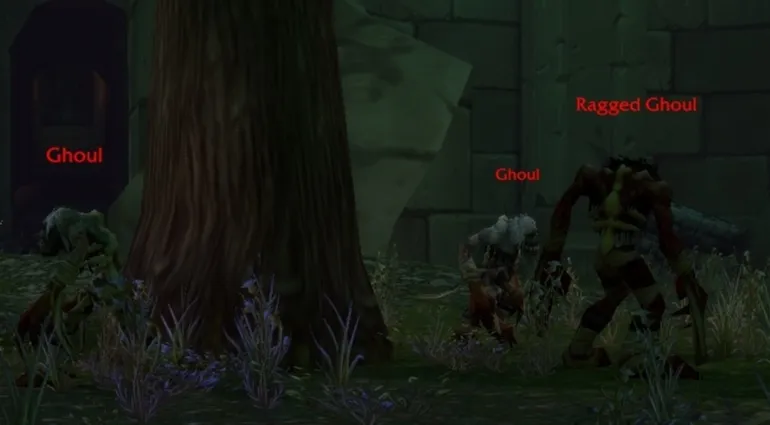
Ghouls and Ragged Ghouls. Packs of three or four with strong melee swings, close to other packs.
Deep Widows and Broodlings. Also at the start, with poison attacks. Harmless unless you pull too many at once.
Skeletal Mages. They put  Frost Armor on themselves; dispel it and they fall faster.
Wailing Banshees. A curse that lowers the hit chance of their target.
Stone Watchers. Gargoyles on the upper floors that pose as statues until you come close. In the fight they turn to stone again: immune to physical damage and regenerating health. Hit them with magic in that phase.
The six bosses
Any order works. Every boss drops blue items; three per boss are known from the beta.
Witherfang
A big spider that patrols King’s Alley with two smaller spiders. Clear the trash along its path first, so it comes alone, and kill the small spiders fast. Its  Leech Poison drains 15 health every 5 seconds for 40 seconds; a player who removes poison takes it off the tank. Witherfang also drops the
 Highly Toxic Strain for The New Plague.
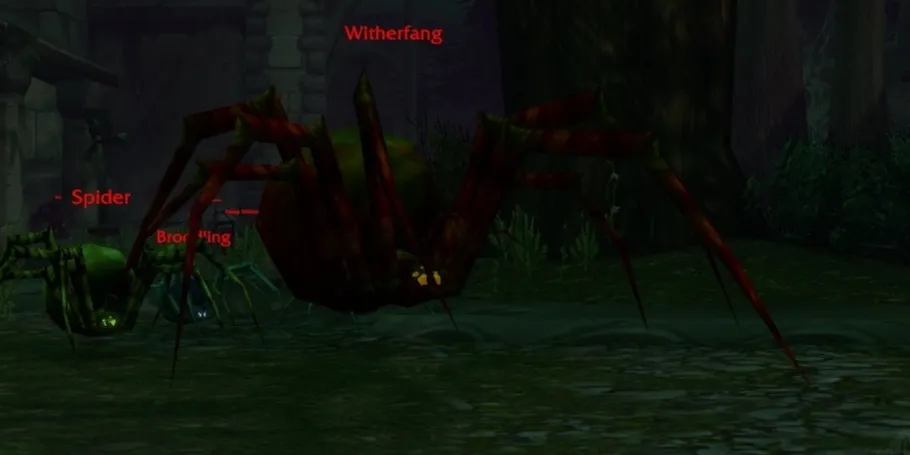
She does not pull her patrol along: a ranged pull brings her alone.
The Baron
An abomination with one ability that matters: Knockout, heavy instant damage that knocks the target back, stuns it and drops threat. A tank that is not at full health can die from it. Stun him as often as possible. He drops the Head of the Baron for the Alliance and the  Abominable Head for the Horde.
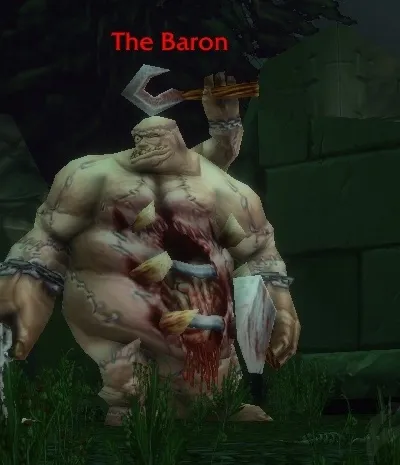
Tank him with your back to a wall. He also hits everyone in melee range around him: melee stands behind him, ranged players keep distance from him and from each other, so the stun on the tank does not send him into a cluster.
Viktor the Vile
The boss most groups miss. Light the Kindled Flame in the chimney of a building in the southwest of Lordamere Overlook, near the graveyard. Five waves of adds follow before Viktor comes. He hits hard and has the same Leech Poison as Witherfang, so let the tank take aggro first. On the beta Viktor sometimes does not spawn.
The waves drain the group more than Viktor himself, so start only with full mana.
The Abandoned
He waits in Market Street, on the way from Lordamere Overlook. A statue there starts three waves of adds, and then he comes out. He casts  Frost Nova, chills whoever hits him in melee, and drains the tank with
 Life Drain, a cast of 2 seconds. A stun before the cast ends stops it.
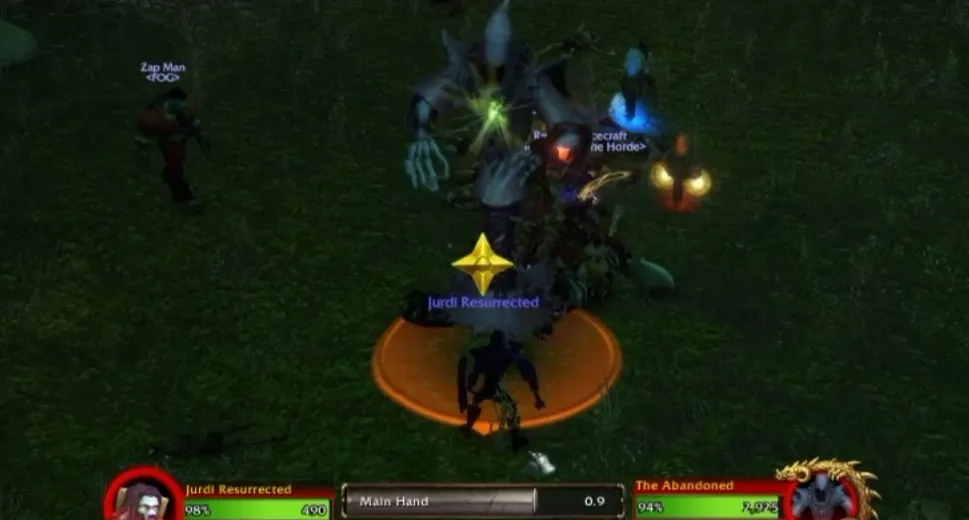
His Frost Armor cannot be dispelled. During the waves, undead sometimes get stuck in the corridors and the event stalls: go after them.
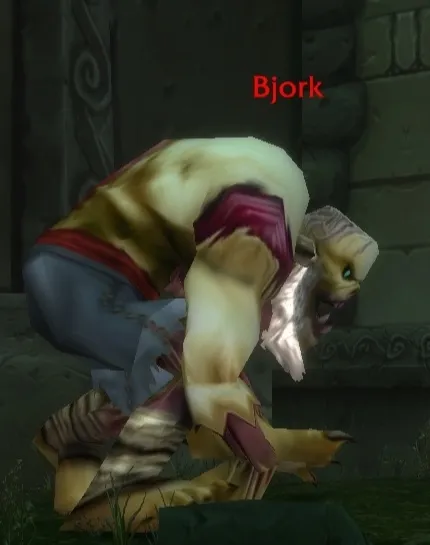
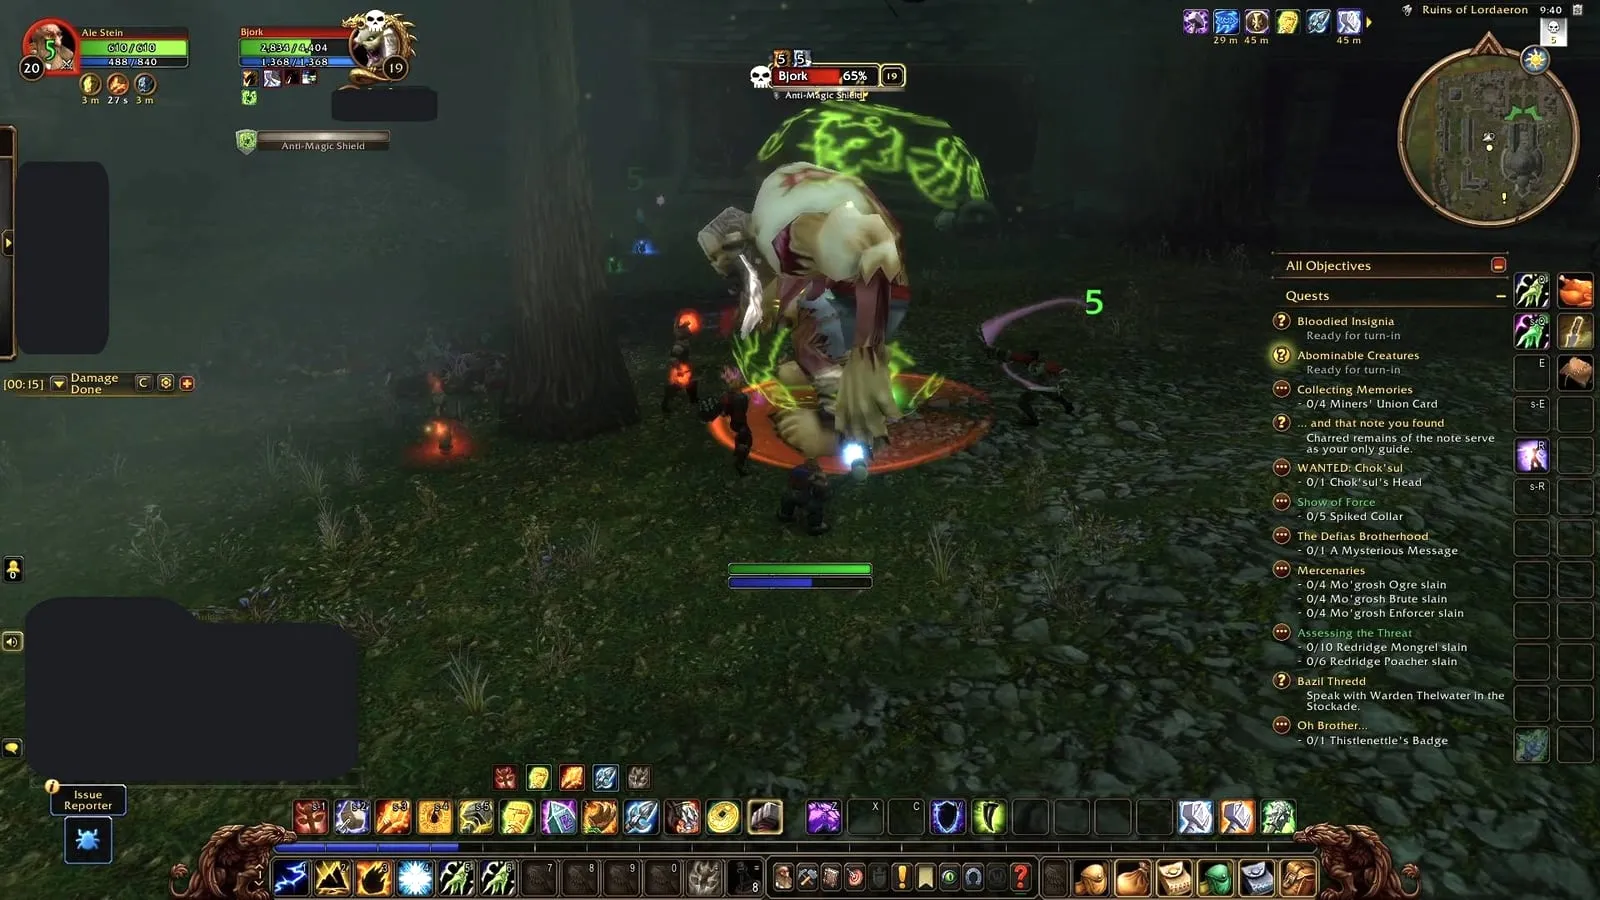
Bjork
A quick fight. His only ability is a short  Anti-Magic Shield, which makes him immune to magic for 3 seconds. Casters wait it out.
Rath’mael
Rath’mael stands at the graveyard, with Edward Heartweaver and the  Blood-Stained Letter nearby. His one ability is
 Flamestrike, always on the spot where the tank stood when the cast started. Move out and fight on at a new spot, or stun him before he casts. His loot requires level 19, the highest in the dungeon.
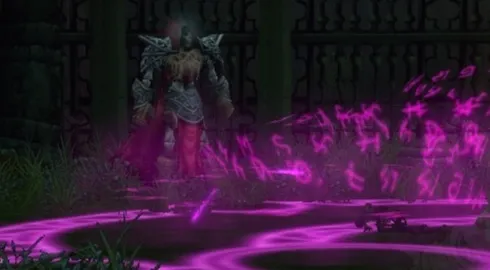
The cast can be interrupted, which spares the melee players.
A rare: the Lordaeron Captain
A rare with a small chance to spawn on the west side of the dungeon. The Alliance cannot kill him; for the Horde he is hostile. A plain fight: just do not pull leftover adds along.
What is not known yet
- Which boss counts as the final boss. The level-20 boss has no fixed place in the order; common routes end at Rath’mael.
- Whether Viktor the Vile always spawns at launch. On the beta he sometimes does not.
- Where the rest of Rotmender’s Raiment drops, and at which step Unending Torment gives Slain Baron’s Signet.
- How much experience The
 Wrath of Rath’mael gives
The news about the dungeon is in the post Six bosses wait in any order in the Ruins of Lordaeron. All dungeons are in the dungeon guide.